Pak Docs
MacOS package installer builder
Downloads
What does pak do?
Pak builds MacOS package installers from a project file. Since apple removed PackageBuilder from xcode it became harder to build packages for software on MacOS, this is what pak aims to fix.
Installation
With Cargo
You can install pak via cargo using the following command:
cargo install pakcli
Manually
If you want to install pak manually you can go to the main page, and download the latest version. This will download a pkg installer which can then be ran to install pak.
With Homebrew
If you use homebrew you can install pak using the following commands:
brew tap Interfiber/homebrew-tap
brew install --cask pak
Notice about codesign
The installers are NOT codesigned, which means macOS will not open it. To open it RIGHT CLICK the file in finder and click open.
Project File Docs
Docs for the pak.project.json file in every pak project
projectName [String]
The name of the project, also displayed as the title in the installer
"projectName": "Epic Project"
version [String]
Current package version
"version": "0.0.1"
orgName [String]
The organization id for the current project
"orgName": "dev.interfiber.pak"
components [Array]
Array of components to build into the final package
"components": [
    "default"
]
Section: Components
Components are declared as objects in the project file like this:
"component_super_epic": {

}
the name of the object must start with component then a underscore and a name with no spaces
To compile the component into the package the name must be listed in the components array.
$name [String]
Name of the component displayed to the user, this can contain spaces.
$pkgName [String]
Name of the component WITHOUT SPACES, used to generate the raw packages
$installDir [Path]
Path to the installation directory
$payloadName [String]
Name of the folder containing the payload located in the payloads folder.
$selectable [Bool]
If the component should be selectable when the user is choosing what packages to be installed
$selected [Bool]
If the component should start selected when the user is choosing what packages to be installed
$visible [Bool]
If the component should be visible to the user when choosing what packages to be installed
$scriptsFolder [Path]
Relative path to the folder containing scripts for the package For more info on scripts see the Scripts section
Section: Appearance
Appearance settings apply to the entire installer, the Appearance config allows you to change background image, license, readme, welcome, and more.
"appearance": {
    "comment": "Appearance config goes inside this json object"
}
$license [Path]
Relative path to the text file used for the software license. During the install the user will need to agree to this license in order to continue
$welcomeHtml [Path]
Relative path to the html file used for the welcome screen. The rendered html will be displayed to the user when the installer launches
$conclusionHtml [Path]
Relative path to the html file used for the conclusion screen. The rendered html will be displayed to the user when the install finishes with success
$readme [Path]
Relative path to the text file used for the readme screen. The contents of the readme file will be showed to the user before the install starts
$enableBackground [Bool]
Tells pak if it should look for a background config, default is false
Section: Background config
The background config is a subsection of the Appearance section, as the config for it will be placed inside the Appearance object likle below:
"appearance": {
    "$backgroundConfig": {}
}
Note that pak will not look for a background config unless $enableBackground is set to true in the Appearance config
$imageFile [Path]
Relative path to the image file used as the background
$align [String]
Align type for the image, types are:
center, left, right, top, bottom, topleft, topright, bottomleft, and bottomright
Installer Scripts
Installer scripts are files that contain code to be execute during the install process
Adding scripts to a component
To declare a folder to load scripts from we need to set $scriptsFolder in the component we want to add scripts to like below:
"$scriptsFolder": "scripts"
This will tell pak to build the component using any scripts from the scripts folder.
Preinstall scripts
To add a preinstall script, create a new file in the folder storing you're scripts called preinstall this should have no file extension
Then make the file executable like this:
chmod +x preinstall
The code inside preinstall by default uses shell script, but it can be changed by adding a shebang
Postinstall scripts
To add a postinstall script, create a new file in the folder storing you're scripts called postinstall this should have no file extension
Then make the file executable like this:
chmod +x postinstall
The code inside postinstall by default uses shell script, but it can be changed by adding a shebang
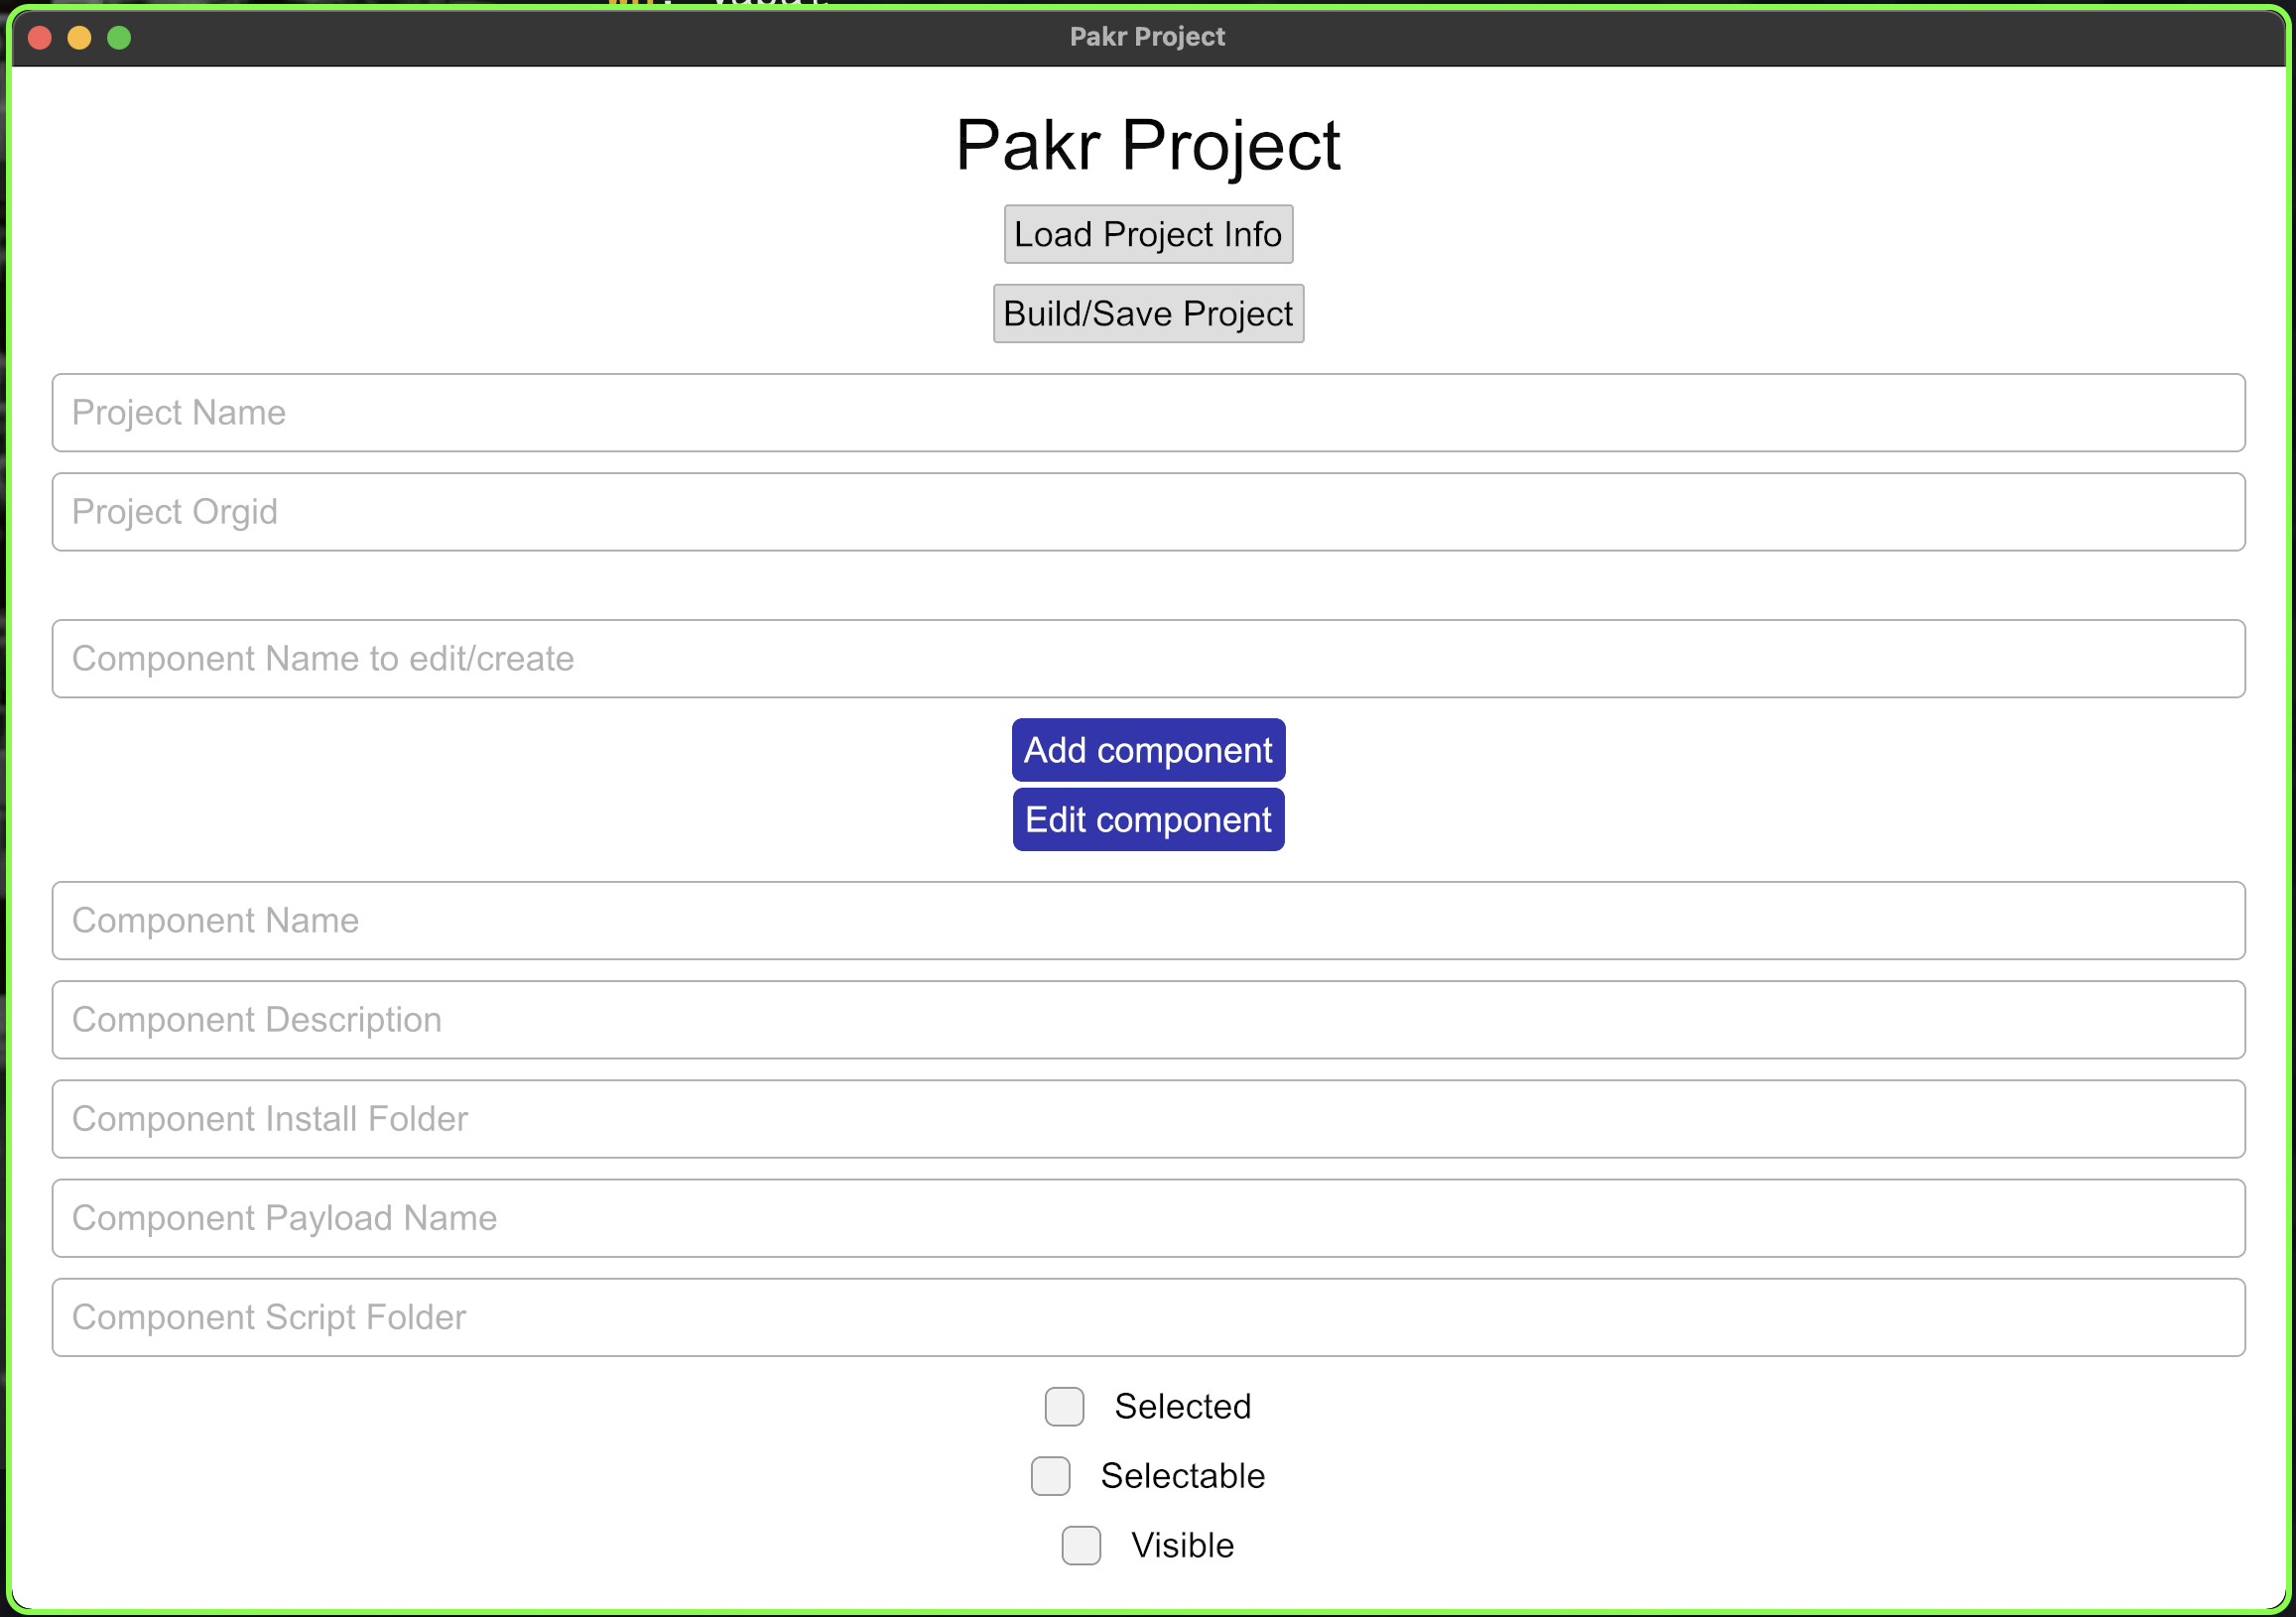
Pakr
Pakr is the GUI client for pak
Screenshots
Install Pakr [PREVIEW]
Manually
By using the main pak installer you can enter the customize screen,
and select pakr.
via cargo
cargo install pakr
Notice about codesign
The installers are NOT codesigned, which means macOS will not open it. To open it RIGHT CLICK the file in finder and click open.
Pakr Functions
Launch pakr
Once pakr is installed, open a terminal and run the following command:
pakr
This will launch a instance of pakr
Create a project
In the pakr welcome interface enter the path to the project you wish to create, the destination folder SHOULD NOT exist.
Load a project
To load a pakr project launch the pakr program with one argument to the location of the project like below
pakr $HOME/my_example_project
Then in the interface select the Load Project Info button.
Create a component
To create a component make sure the project is loaded, then enter the component name and click Add Component like below.

Save a component
Once all changes to a component are made, select the Save/Build Project button to save the project.
Edit a component
To edit a component make sure the project is loaded, then enter the component name and click ```Edit Component``. After changes are made make sure the save the component.